If you need to create your adaptation of the remote control 3D model for your bike, you can modify and export it in order to print it with Sculpteo. Here is how to create the case with the handlebar fixing.
BLENDER files
To modify one of the 3D Arduibag models, download this ZIP archive and Blender software. If you prefer, you can also download the All-in-one BLENDER file which contains the entire Arduibag remote with all electronic components.
Step 1 – Blender process
1/ Open the .blend file with Blender
You have to keep only the parts you want to print. They are in the greyed layers.
Click the “a” key on your keyboard to deselect all parts.
2/ Select all other layers in which there are parts
3/ Remove all other parts:
Select all parts with the “a” key
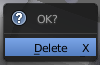
Delete the part with x key
Save your work blend on an other name with “File/Save as…”
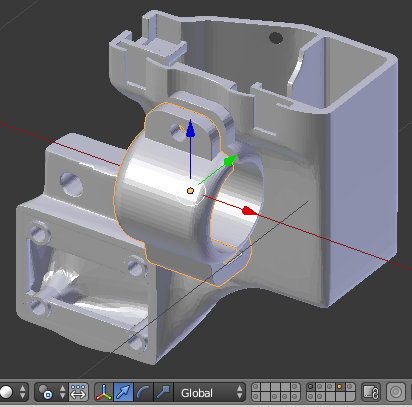
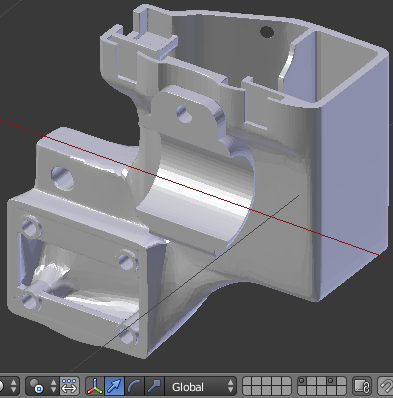
4/ Parts to export
Select the 2 layers with your parts
Select the part witch is not link to the box and remove it with “x” key. You should now have this:
5/ Export the .obj
Export your part by the menu “File/Export/Wavefront (.obj)”

Set your filename
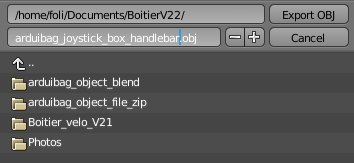
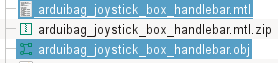
You should have 2 files: An .obj and an .mtl.
Then you need to Zip them:
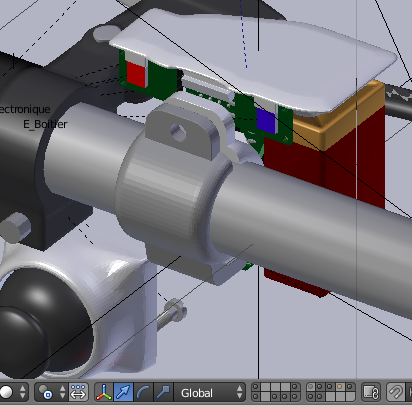
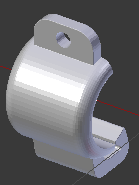
6/ Export the other part of your fixation
Open your work blend file.
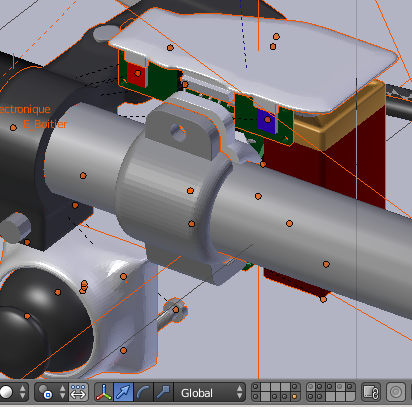
Select the box parts and remove them to keep only the fixation:
Export it to the object file and ZIP it.
Step 2 – Upload the file to Sculpteo
if needed, create a new Sculpteo account : http://www.sculpteo.com
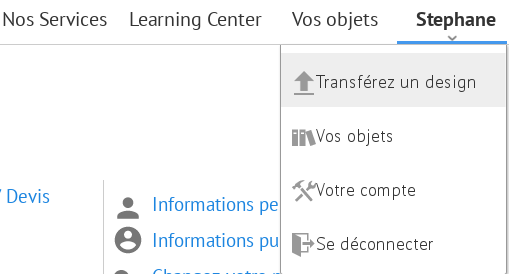
Then, upload your object by your name on top right:
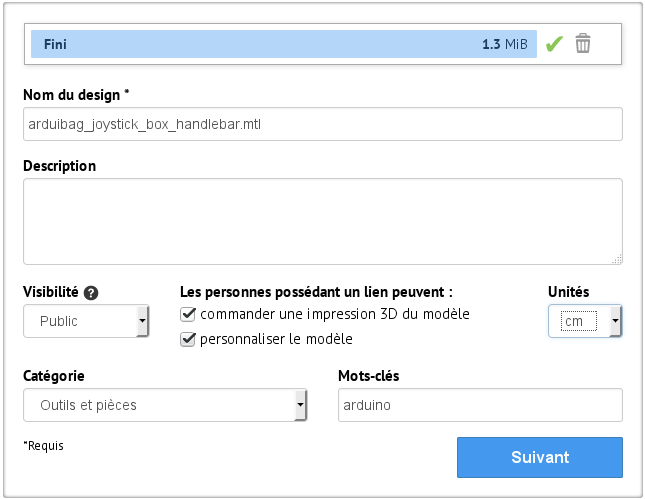
Select your ZIP file and populate your information. The Unite is in “cm”.
Upload is in progress:

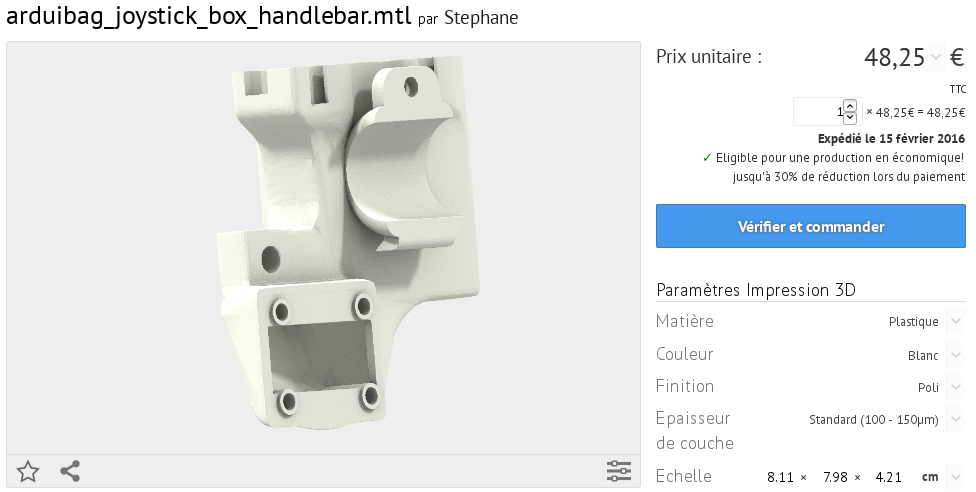
The file is uploaded:
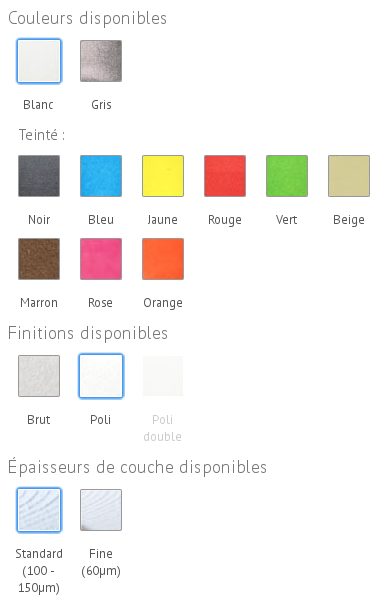
You have to select the plastic material, the colour and polished option below:
Do the same with the other part and …you just have to pay! 🙂